Updated March 15, 2023
Home remodels take time (and money), and there are several steps to be aware of.
To ensure your home remodel goes smoothly, establish a detailed timeline and max budget for the project.
Hiring someone to plan, design, and budget the project for you is the safest option, but that can cost a lot of money, and we’re all about budgeting wisely.
Follow our home remodel guideline and timeline example, and you’ll be well prepared for your project.
Average Timeline
Before jumping into your home remodel—whether you're doing some of the work yourself or hiring a contractor to handle it all—familiarize yourself with the remodeling process and what goes into it.
On average, a complete home remodeling project takes 3-6 months to complete, but this all depends on the overall size and complexity of the project, as well as who you hire to do the work and the amount of work you choose to do yourself.
A good rule of thumb: For every $10,000 spent, expect it to take 1-2 weeks to complete the work.
However, before doing any work, there is planning to be done, contractors to hire, permits to be pulled, etc.—all of which takes time.
Common Total Home Remodel Timeline:
- Planning: 1 month
- Demolition: 2 weeks
- HVAC, Electrical & Plumbing: 5 days
- Framing & Drywall: 10 days
- Painting: 1 week
- Cabinets & Fixtures: 1 week
- Doors & Windows: 5 days
- Clean House & Air Vents: 1 day
- Flooring: 1 week
- Trim and Finish Work: 1 week
Once all is said and done, this project took roughly 3 months to complete.
Next, take a closer look at each individual step of the process.
Find interior demolition contractors near me
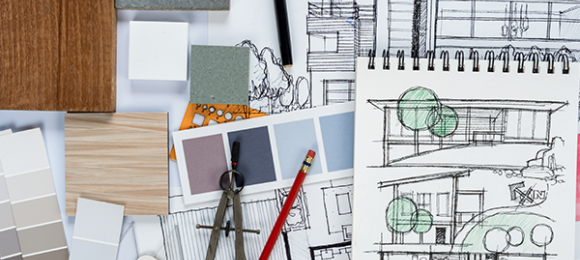
Step 1: Planning

Nail down a budget.
The most important aspect of the planning process is ensuring you have enough money to pay for the project, regardless of how big or small the scope of work may be.
Have a maximum amount you are willing to spend in mind and make a point not to go over your budget.
The various costs that factor into a house remodel can be much different than you think, so start a running list of all your must-have and want-to-have items in a spreadsheet.
Then, do some quick research to determine average costs for those items, and tally it all up to get a better idea of what it would cost.
The most difficult aspect of budgeting is estimating the cost of labor.
However, it’s generally a safe bet to plan for labor accounting for 20-40% of your total budget.
Your budget should also include a 10-20% contingency depending on the size and complexity of your project.
This may seem like a lot, especially when you’re trying to make every dollar count, but keep in mind that this is a safety net, and you will be left with extra money if it goes unused.
A vast majority of issues arise during the demolition and framing/drywall process, when common problems, like leaking pipes, mold, defective wiring, damaged foundations, and termite damage are typically discovered.
Once you get through this stage of the process (Steps 1-4), you can spend the rest of your contingency on whatever you want!
You can splurge on that freestanding tub or those fancy light fixtures you had your eye on.
Learn more about cost:
- Save Money by Remodeling Your Kitchen or Bath This Winter
- How Much Does Demolition Cost per Square Foot?
- Top 5 Go-To Tips for Budgeting Your Kitchen Remodel
- 8 Transformative Home Remodeling Projects to Tackle Today
Decide when to DIY.
Because there are so many factors to a home remodel, there may be some aspects of the job that you are willing and able to tackle yourself, which could save you some money.
So, the second step of home remodel planning involves making a simple list of the work you want done, and deciding whether or not it’s something you can do yourself.
If it’s something you can do, label that task "DIY." If it’s not something you can do—and be honest with yourself—then label that task "PRO."
The chart below is a general guideline for projects that are DIY-able, and those that are best left to a professional.
| Type of Project | DIY-Friendly | Hire a Pro |
|---|---|---|
| Plumbing | X | |
| Electrical work | X | |
| Cabinet removal & installation | X | |
| Toilet removal & installation | X | |
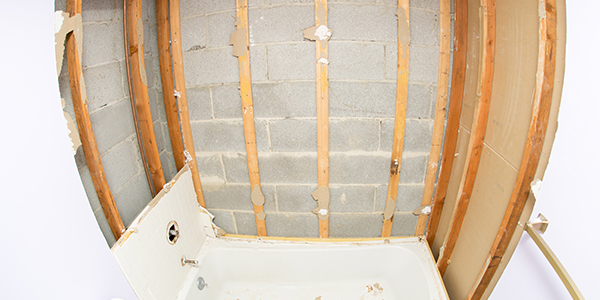
| Wall panel removal | X | |
| Flooring | X | |
| HVAC | X | |
| Moving/removing load-bearing walls | X | |
| Painting | X | |
| Tiling | X |
Read more:
- 7 Things You Should Know Before Starting a DIY Demo Project
- Small Demolition Projects: DIY or Hire a PRO?
- How to Remove Your Cabinets
- Pros and Cons of Doing Kitchen Demolition Yourself
- Wall Demolition Tips for the DIY Homeowner
Research contractors.
Once you know the work you’ll need a pro to handle, you can look into which contractor is the best choice for you.
The ideal contractor will…
- Have experience doing the specific work you’re hiring them to do
- Be licensed and insured to do the work
- Acquire all the necessary permits for you
Find out more about hiring the right contractor for the job:
- 7 Keys to Successfully Hiring a Demolition Contractor
- Avoid These 5 Red Flags When Hiring a Contractor
- When Hiring a Contractor Saves You Money vs. Doing It Yourself
- The Importance of Getting Multiple Quotes Before Hiring a Contractor
- Never Say THIS to Your Contractor
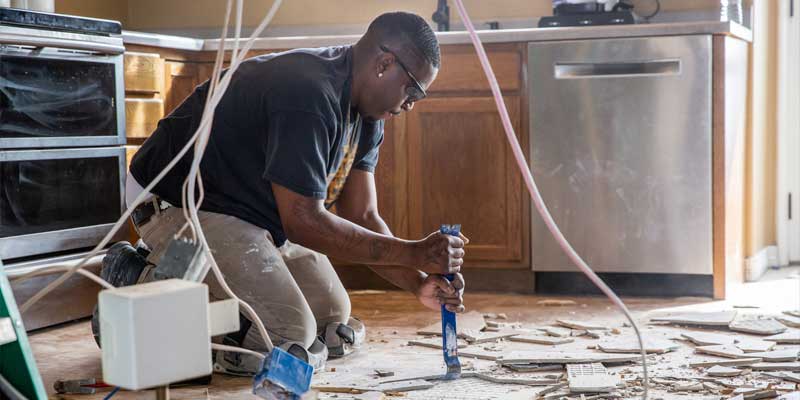
Step 2: Demolition
Once you have your plan in place and you’ve chosen your contractor, it’s time for demolition to start.
To make way for the new, the old has to be cleared out first. This involves not only demolition but also debris disposal, so you will likely need to rent a large roll-off dumpster to handle the waste.
A dumpster is ideal for keeping a project moving efficiently because you can remove debris from your home as it’s demolished.
This will minimize risks and mess during your demolition project and enable you to finish it as quickly, safely, and smoothly as possible.
If you decide to do any of the demolition work yourself, exercise caution and follow all safety precautions.
Demolition can be very dangerous, especially when performed haphazardly.
Find remodeling contractors near you
Step 3: HVAC, Electrical, and Plumbing
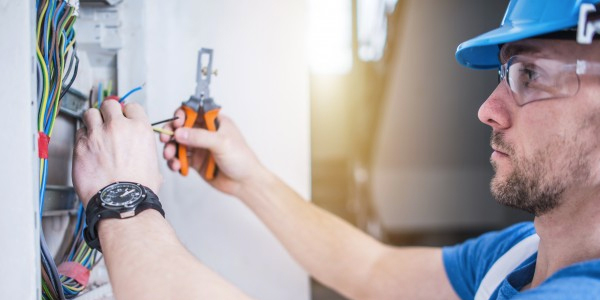
Once your demolition work is completed, the “rough-in” process can start.
This involves any work done beneath floors or behind walls, like installing ductwork for central heating and air conditioning, installing new electrical and plumbing systems, etc.
This is when plumbing and electrical inspectors will need to come inspect your home and ensure you have up-to-date systems.
Because re-wiring and plumbing will likely need to be done, handle all rough-in work before flooring, drywall, and painting work, as it could be damaged in the process.
Have a diagram of your remodel plans on hand, particularly for rooms in need of electrical and plumbing work, so plumbers and electricians will be able to properly address your needs.
Where do you want your refrigerator to go?
What about your lighting?
Where should outlets be—and how many?
These are all things to consider and should be discussed with your contractor.
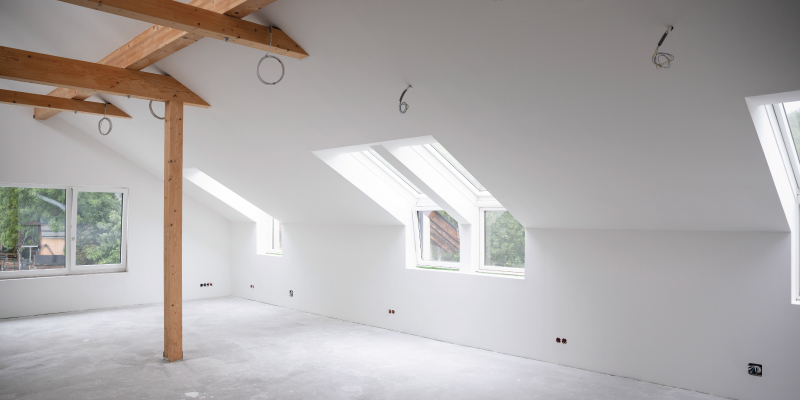
Step 4: Framing and Drywall
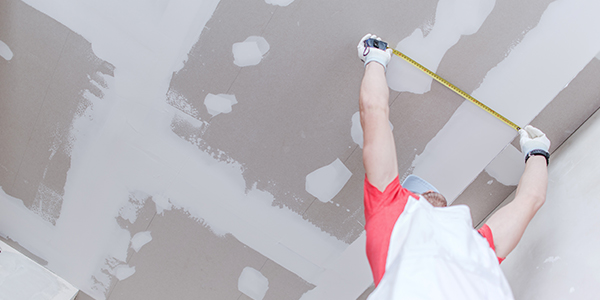
Once all the plumbing, electrical, and HVAC updates are addressed and signed off on, it’s time to tackle framing and drywall.
The drywall process involves hanging sheets of drywall, applying drywall compound, letting the compound dry, and sanding it smooth until a seamless surface is achieved.
Typically, the same contractor can handle the following (and more!):
- Moving and constructing walls
- Adding support beams
- Window and door openings
Read on: 2 Jobs, 1 Contractor: How to Save Money on Demolition Projects
Step 5: Painting

Once the drywall is smooth, it’s time to paint your newly blank canvas!
Painting is something you can do yourself, but it can also be backbreaking work.
In addition, if you want to achieve a clean, flawless paint job without the stress, you’ll want to hire a pro.
Find interior demolition contractors in your hometown
Step 6: Cabinets & Fixtures
With your newly painted walls, the rest of the space can start to come together.
Cabinetry, lighting, bathtubs, showers, toilets, sinks—have these installed next.
This is the fun part, so get creative while staying on-trend:
- 15 of the Most On-Trend Kitchen Remodel Design Ideas
- 8 of the Hottest Bathroom Remodel Design Trends
- DIY Home Staging: Sell Your Home Faster for Less
Step 7: Doors & Windows
Next, it’s time to install windows and hang doors.
Before installing any carpet, be sure all doors are installed to ensure they can open and close freely.
If you’re installing laminate floors, they can wait until after the doors have been hung.
Step 8: Clean House & Air Vents
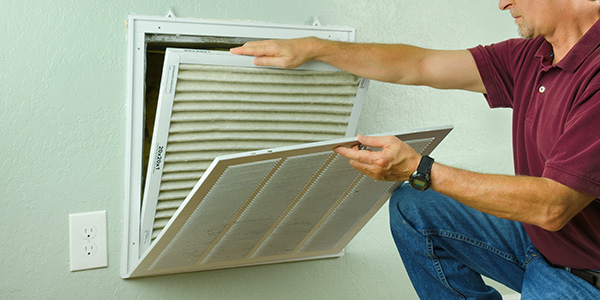
If you rented a dumpster, the main pieces of debris should already be out of the way.
Now, sweep or vacuum up any remaining debris and grime
All that renovation dust gets everywhere, so have a professional come to clean out your air vents and furnace.
Step 9: Flooring
Generally speaking, it’s best to hold off on flooring installation until the end of the remodeling process, so they don’t sustain any scrapes, nicks, or damages.
Carpeting, laminate, tile, and any remaining flooring should be the next step of the remodel process.
Learn more:
- Update Your Old Floors for Less
- Should I Handle Floor Removal Myself?
- Choose the Right Floors for Your Home or Business
- Why You Should Hire a Professional to Remove Your Floors
Step 10: Trim & Finish Work

Once flooring is installed, it’s time to nail up trim and finishes, door frames, and baseboards.
Congratulations! You did it!
Now, it's time to move in furniture, decor, appliances, and all the stuff that helps make your house a home.
Use carts and drop cloths to avoid damaging your newly remodeled home as you bring items inside.
Then, kick your feet up and enjoy your new space!
Find interior demolition specialists near you
Keep reading: