Updated January 24, 2023
Throughout the country, there are homes with beautiful hardwood floors living underneath linoleum, carpet, tile, brick, and other outdated materials.
If you're sick of your old school style floors and want to give your home a fresh look that still allows your home's character to shine through, consider tearing them up to reveal the wood floor boards underneath.
If you're unsure what's beneath your old floors, find a discreet place to tear up a small piece to take a peak at what's there.
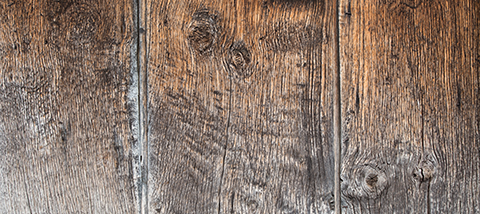
If you see wood floor beneath and they look like they're in decent shape, ripping them up and refacing them may be a rewarding choice.
This guide will go over:
Find a floor removal pro in your hometown
Removing Old Flooring
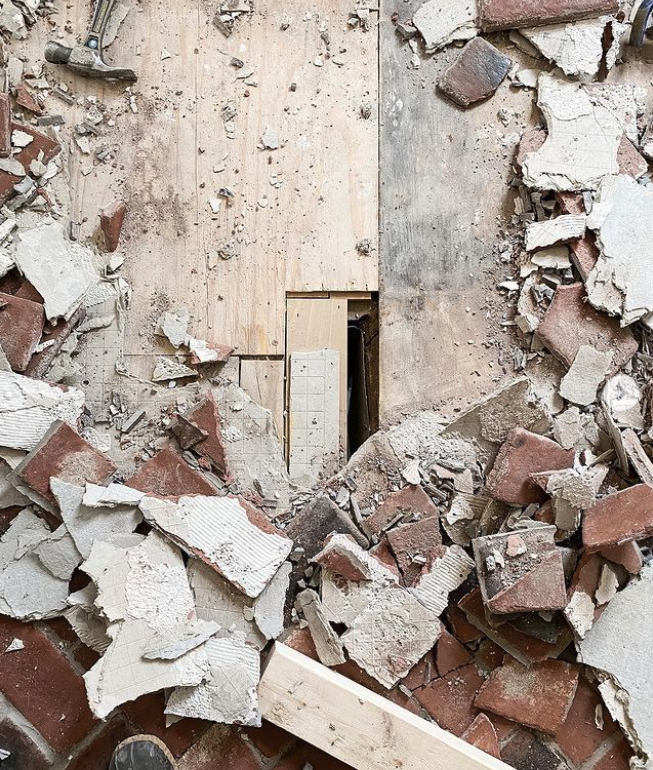
The first step to updating your old floors is often removing a layer or two to expose the original good stuff underneath.
For example, most old homes with linoleum, tile, brick, or carpeting have wood floors underneath.
Oftentimes, these floors simply need to be refreshed in order to bring back original character into your home for less money than you'd think.
Of course, the current flooring you have and your project goals will affect how you move forward in removing your old floors.
If you have linoleum or carpet, you typically can tear up a small corner to see what's underneath and the general shape of the wood.
Oftentimes, the general floor will be in good shape, with perhaps just a few boards needing to be replaced.
If the wood appears to be in redeemable shape, you can move forward with removing your existing floors.
Typically, this involves a utility knife, pry bar, claw hammer, safety equipment (gloves, goggles, heavy duty boots, respiratory protection), and some elbow grease.
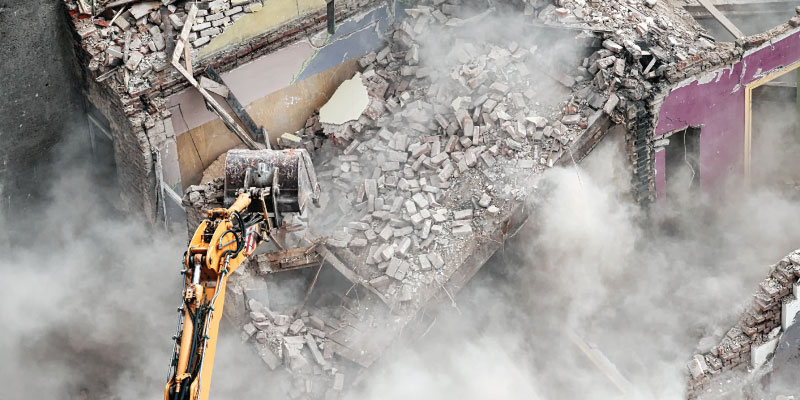
If your old floors are beat up and unsalvageable or cannot be reused or recycled somehow, we recommend using a dumpster rental to manage the debris.
A temporary dumpster will make it easy for you to keep your site clean as you go, and unless your floor removal project is big or for the entire home, you'll likely have extra space to toss other junk or trash you've been meaning to haul to the landfill.
To be sure you get the right dumpster and customer service for the right price, we recommend getting at least three quotes from local dumpster rental providers.
Hiring a junk removal service at the end of your project is another great option that offers convenience and simplicity.
You can get quotes from multiple junk haulers in your area and have them pick up your items day-of in most cases.
Learn more:
- Should I Handle Floor Removal Myself?
- How Much Does Floor Removal Cost?
- 8 Steps to Remodeling Your House on a Budget
Find floor removal pros in your area
Preparing Your Wood Floors
Once the old materials are removed, it's time to prep your newly-revealed wood floors.
Of course, your floors should be thoroughly cleaned, but they should not be perfectly smooth. This will make them receptive to paint and give you an even finish without much effort.
If you need to replace any missing or damaged boards, glue and nail those down first.
To ensure the new boards are level with the rest of your floor boards, sand them down as needed.
Once any existing gaps have been filled, it's time to assess your floors a bit more closely.
Are your floors very smooth? Do they have a poly finish? If so, you should sand your floors down to a 100 grit or so.
The surface shouldn't be so smooth that it doesn't accept paint or so smooth that you can't get a good coat.
Another option is adding a coat or two of primer with a stain blocker, which will help the paint adhere to the floors well and prevent existing finishes from affecting the color of the paint.
For example, poly finishes can turn white paints yellow over time.
If your floors aren't overly smooth and just need a good cleaning, don't worry about sanding.
Depending on how dirty your floors are, you may be able to get away with just use an all-purpose cleaning spray and a wet rag until no more dirt comes up.
However, if your floors need a good deep cleaning, use a more heavy duty cleaning product, like Krud Kutter, to help thoroughly lift up all dirt and grime.
A clean canvas is the first step to a painted floor that looks beautiful and lasts.
Painting Wood Floors
Once your floors are prepped and clean, it's time to paint.
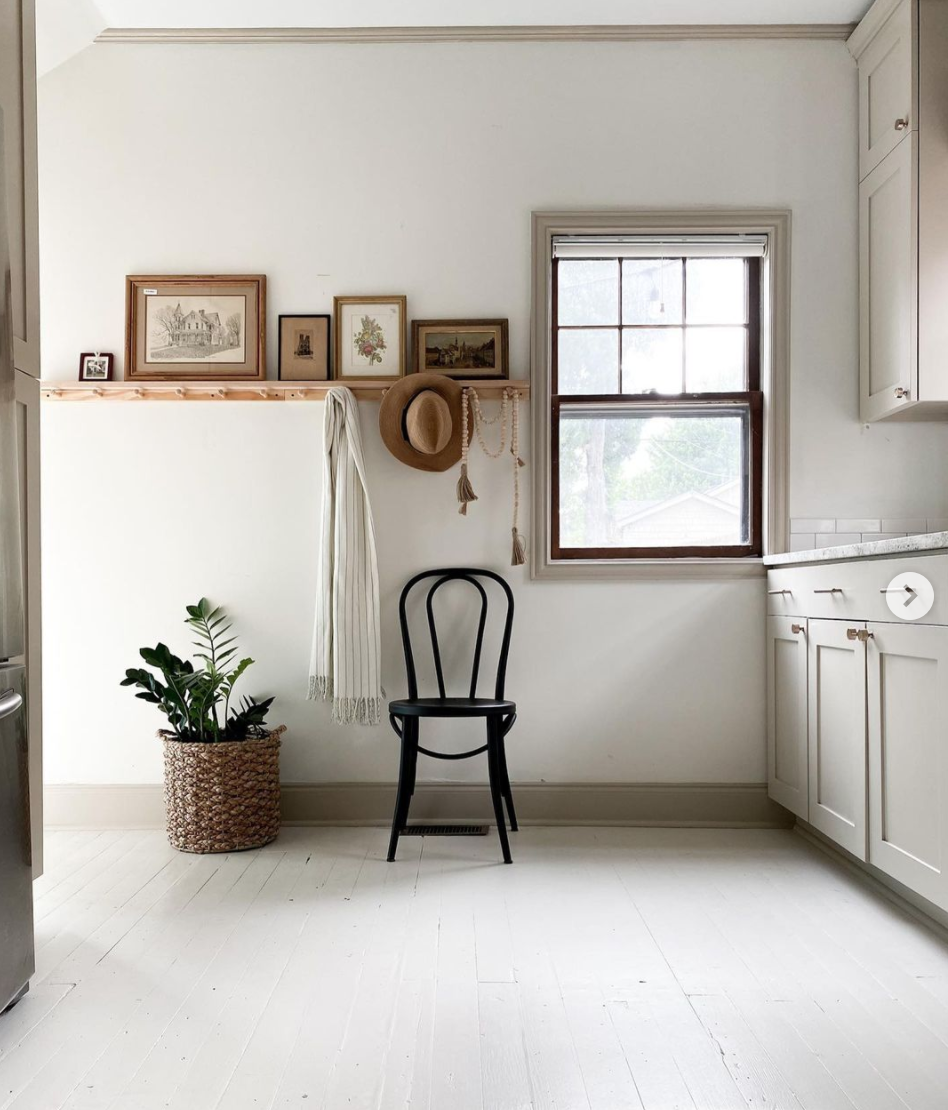
If your wood floors are aging, a great way to redeem them and give your home a fresh look for less is to paint them.
Painting old wood floors has many advantages:
- No need to refinish old, thin floors
- Inexpensive alternative to replacement
- Takes minimal time and effort
- Keeps salvageable materials out of the landfill
- Hides imperfections in floor boards
- Disguises uneven finishes
Because of the many benefits of painting wood floors, it has become a very popular trend among home design influencers and DIYers.
Chris Loves Julia recently painted their fir wood floors a creamy white, but they're just one of countless who have given their home a makeover in less time for less money.
Florence Revival is another popular DIYer on Instagram who has documented the process of painting her kitchen floors, wood stairs, and more, including tips and tricks on how she did it.
When it comes to selecting the right tools for the paint job, it comes down to preference.
Many people prefer the convenience and speed that rollers offer, while others like the look of a paint brush better.
Either option will work, just be sure to paint with the grain.
We recommend doing two coats of paint for a consistent, even coverage, allowing sufficient drying time between each coat as instructed for your specific paint product.
Don't paint yourself into a corner! Make sure you start in the furthest corner, and paint yourself towards an exit so you can safely leave the room without ruining your fresh paint job.
Once your paint has dried, we recommend applying a top-coat or sealant to protect them from the wear and tear of everyday life.
Oftentimes, 2-3 coats of finish are recommended for adequate protection, but once that dries, your floors are done!
Find a floor removal pro near you
Keep reading: