Updated July 20, 2021
Are you thinking about remodeling your kitchen or replacing your kitchen cabinets?
Understanding how cabinets are installed can give you, the homeowner, peace of mind.
Step 1: Wall is marked and measured
The base cabinets’ height is measured. (Most standard cabinets are 34.5 in. high.)
An additional 1.5 in. is calculated for a standard countertop and another 18-20 in. for a backsplash.
If you plan to place small appliances on the countertop, then a 20-inch backsplash is preferable.
With an 18-in. backsplash, the total measurement would be 54 inches from the floor to the bottom of the upper cabinets.
If your floor is not level, the highest point along the wall should be the starting point of measurement.
Next, a line is drawn across the wall at the 54-in. point using a level to serve as a guide for hanging the cabinets.
A stud finder is used to locate the wall studs, which are crucial for properly supporting the cabinets’ weight.
Contactors should take extra caution to avoid any electrical wiring or plumbing.
Step 2: Support board is secured
Next, the support (ledger) board is screwed into the marked studs to temporarily support the weight of the cabinets during the installation.
The cabinet doors and hardware can be removed to make them lighter and easier to install.
Find a kitchen remodel contractor near you
Step 3: Wall cabinets are hung

Cabinets are attached together and then safely lifted and secured to the support board.
Clamps are used to fix the stiles—the vertical pieces on the face of the cabinet frames—together.
Then, the two cabinets are pre-drilled and secured together at the stile using screws.
Screws are affixed in all four corners where the two cabinets meet. This ensures a secure fit.
Once the cabinets are plumb and level, they are secured into the wall at the studs.
This process is repeated until all the wall cabinets are installed.
If a gap exists between the wall and the last cabinet, a filler bar (commonly supplied by the manufacturer) is used to close up the gap.
Once all the wall cabinets are in place, the doors and hardware are attached and the support board is removed.
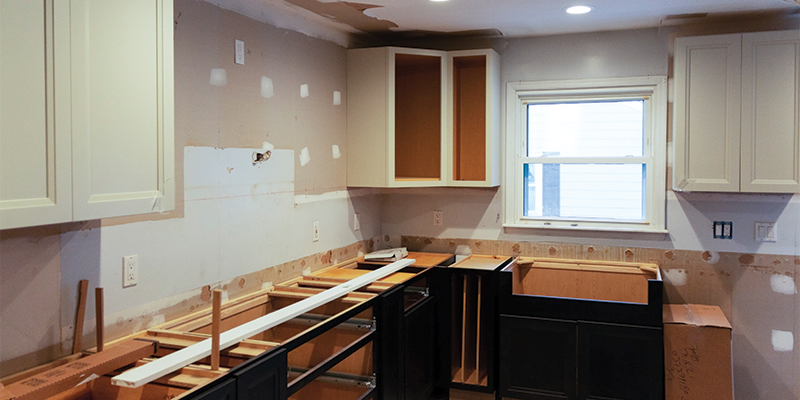
Step 4: Base cabinets are installed
Base cabinets are installed as close to the high point as possible, making it easier to shim under the cabinets to make them level if necessary, rather than starting on a low point and having to trim the bottoms of the cabinets.
The base cabinets are measured using a pencil and level to mark a level line on the wall from the high point in the floor to the cabinet height.
This is the guide followed during installation.
A stud finder is used to locate and mark the studs located along this line throughout the room.
The first cabinet is dry-fitted into place, using a level across the top.
If needed, the cabinets are shimmed until level.
Then, the cabinet is secured into place using screws.
This process is repeated until all the base cabinets are installed.
Then, the doors and hardware are attached.

Find a kitchen remodel contractor near you
Learn more about kitchen remodels: