Updated July 10, 2021
This guide will explain how to turn off the water to your home and how to cap the water line.
This is something you will have to do before beginning any demolition or construction project in your home, in your garage, or anywhere that water is fed.
How to Turn Off the Water Supply:
1. Locate the main shut-off valve.
The main water shut-off valve is typically a brass valve with a round handle and is located near the main water pipe leading into your home.
This pipe is often in the basement, kitchen, or utility room. In regions where it’s warm year-round, the shut-off valve may be outside.
2. Turn off the valve.
Turn the valve clockwise to turn off the water.
Once the water is shut off, the appliances that use water won’t work properly until the water is turned on again.
Avoid using the dishwasher, washer and other appliances while the water is shut off to avoid causing damage.
3. Drain residual water from the pipes.
Turn on the faucet in your basement washtub or an outside spigot to remove as much water from the pipes as possible.
How to Cap the Water Line:
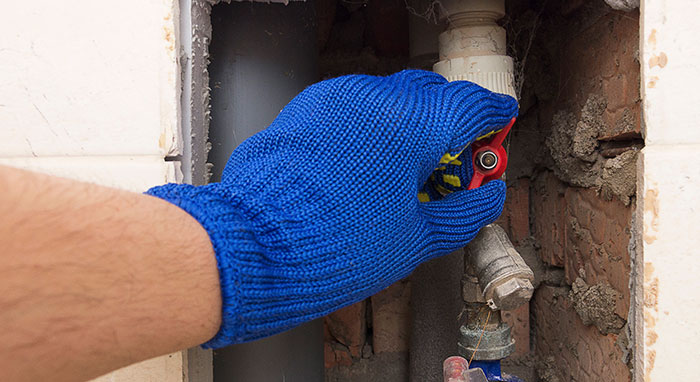
1. Cut off the water pipes.
Use a tubing cutter or hacksaw to make a clean square cut, cutting the least amount of pipe as possible.
Then, wipe the ends of each cut pipe with a cloth to ensure they are smooth and clean.
2. Cap the pipes.
Place the cap on the pipe and make a “depth mark.”
Then, push the pipe cap onto the pipe until its edge lines up with your depth mark.
3. Test the cap’s fit.
Turn the water back on and check to see if there are any leaks at the cap’s connections.
If you don’t observe any water dripping, there are no leaks, and the cap is installed correctly.
If you do see dripping, repeat step five until there is no leak.