Updated January 23, 2023
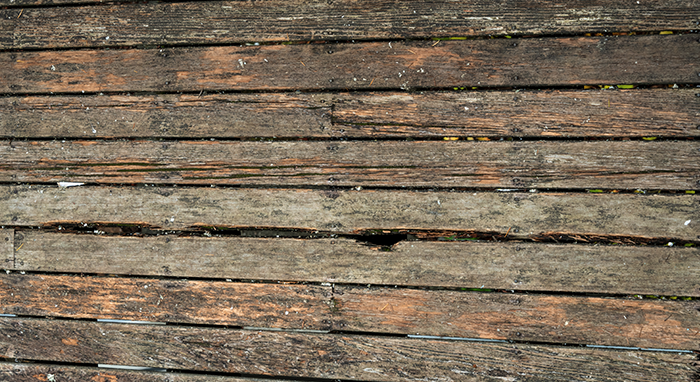
So, your otherwise great deck has a rotting board or two.
Don’t panic—you can remove those boards and have them replaced in no time.
Replacing rotting boards is an inexpensive way to revamp your deck’s appearance and increase safety.
Gather Your Equipment
First, you’ll want to gather all the tools and materials you’ll need to accomplish this job.
Generally, you’ll need a drill or claw hammer for removing screws and nails.
You also may need a chisel or old flat-head screwdriver for chiseling out buring screws/nails.
When it comes to replacing the board, you’ll want to have the proper size and type of board.
You can get these at your local home improvement store, and they can be cut down to your desired size. (Measure out the size of the existing rotting board first!)
If your deck is stained or painted, you may want to match the new board to your existing deck before putting it in place.
Removing an Old Deck Board
Of course, sometimes removing a board is easier said than done.
You want to be sure to remove the rotting board without damaging surrounding boards.
Oftentimes, you can simply unscrew them. But in other cases, the screws are buried too deep or are stripped.
If this happens, you can chisel a small hole around the screw until you’re able to remove it.
Nails can also be buried too deep for easy removal but can be removed in a similar way.
If any of the parts are bolted on, use a ratchet and socket to remove them as needed.
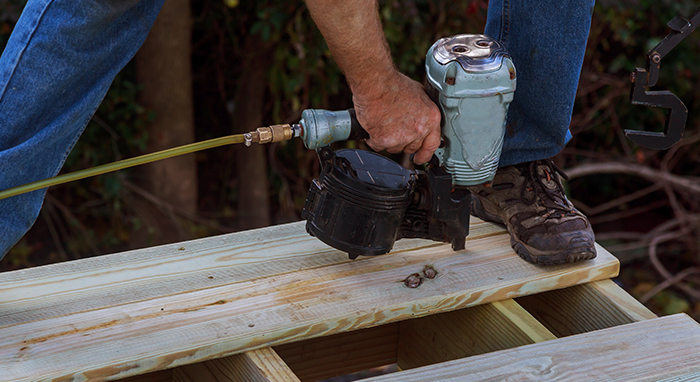
Installing a New Deck Board
This is the easiest part—simply screw or nail the new deck board into place.
Be sure to secure each screw/nail flush with the deck, but taking caution not to bury it too deep.
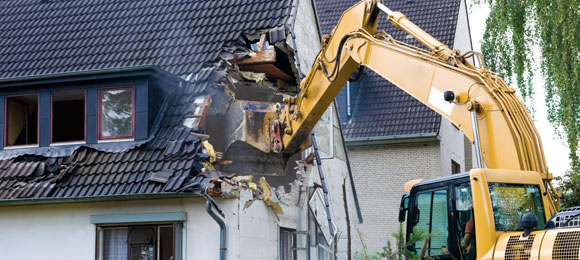
If your deck is rotting in more than a few places, consider removing and replacing it entirely.
Find a qualified professional to handle your deck replacement project
Keep reading: